Remodeling 101 Part 4 Finishing Touches
Part 4: The Finishing Touches
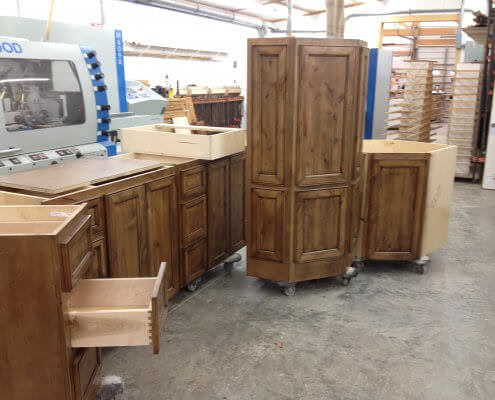
Construction crews have left your home now and it is time to put your space back together with the last details.
Cleaning up
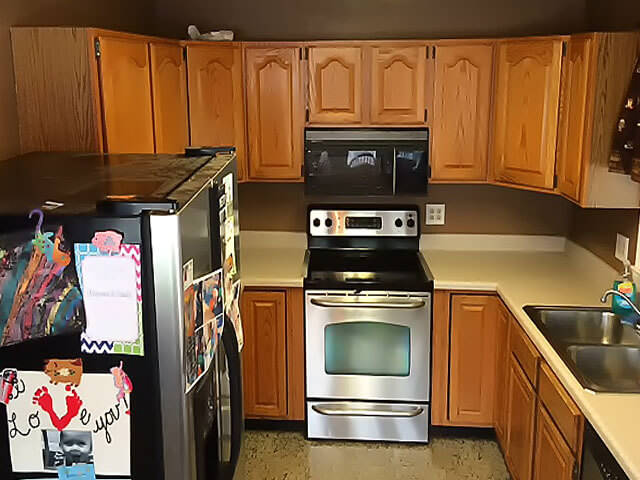
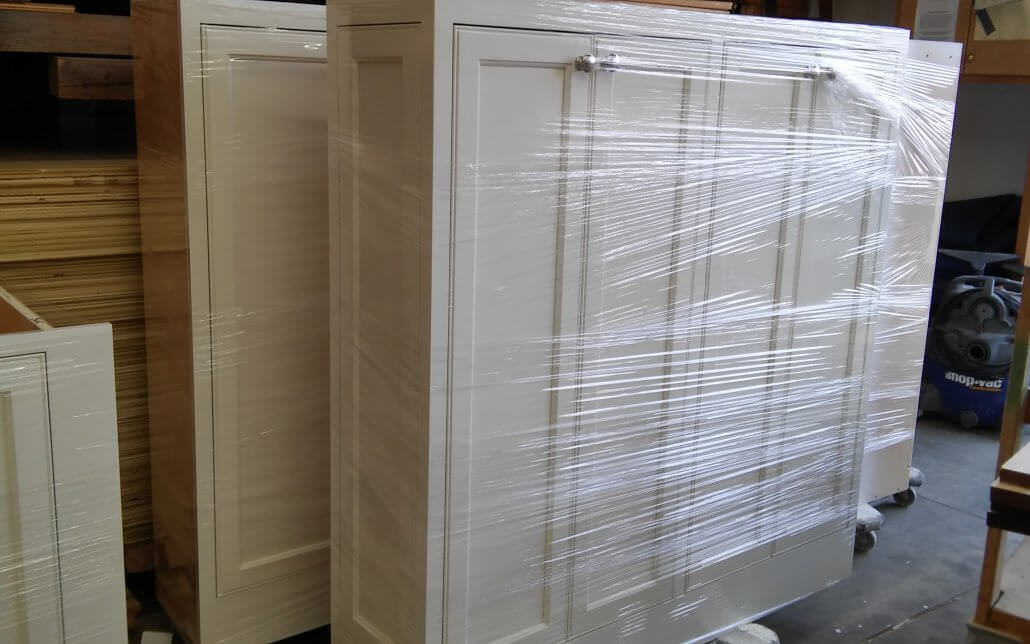
Now that everything is in its place and the dust has literally settled, it’s time to clean up. As was mentioned in our article on Part 3; if you used a contractor some cleanup may be included in their estimate. This is probably basic and may not include wiping down all of the surfaces. Your new cabinets will be dusty inside and out. First from being assembled in the shop, then from installation, and finally from the countertops and appliances being put in. Hopefully, the dust barriers you put in place helped some, but you should still plan a large chunk of time to devote to the task of straightening up.
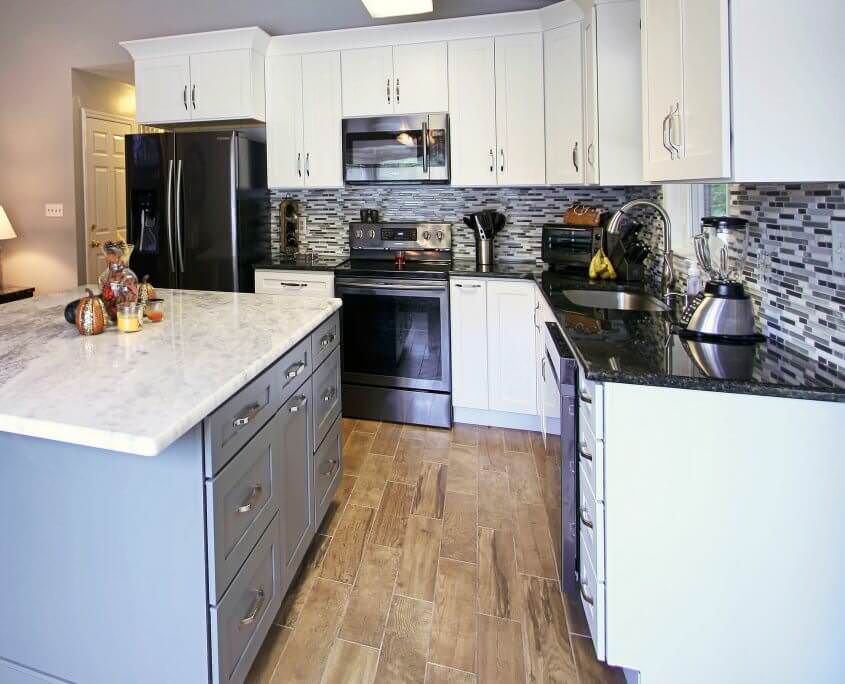
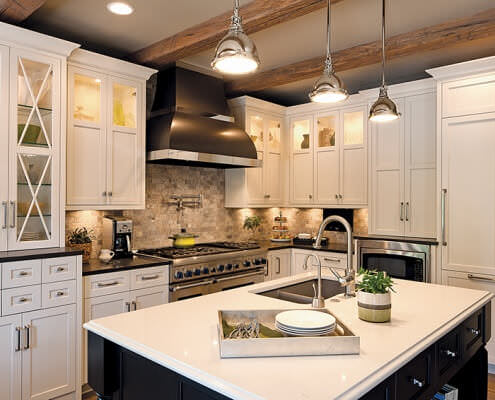
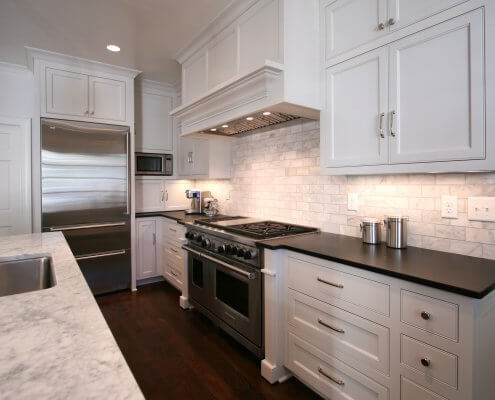
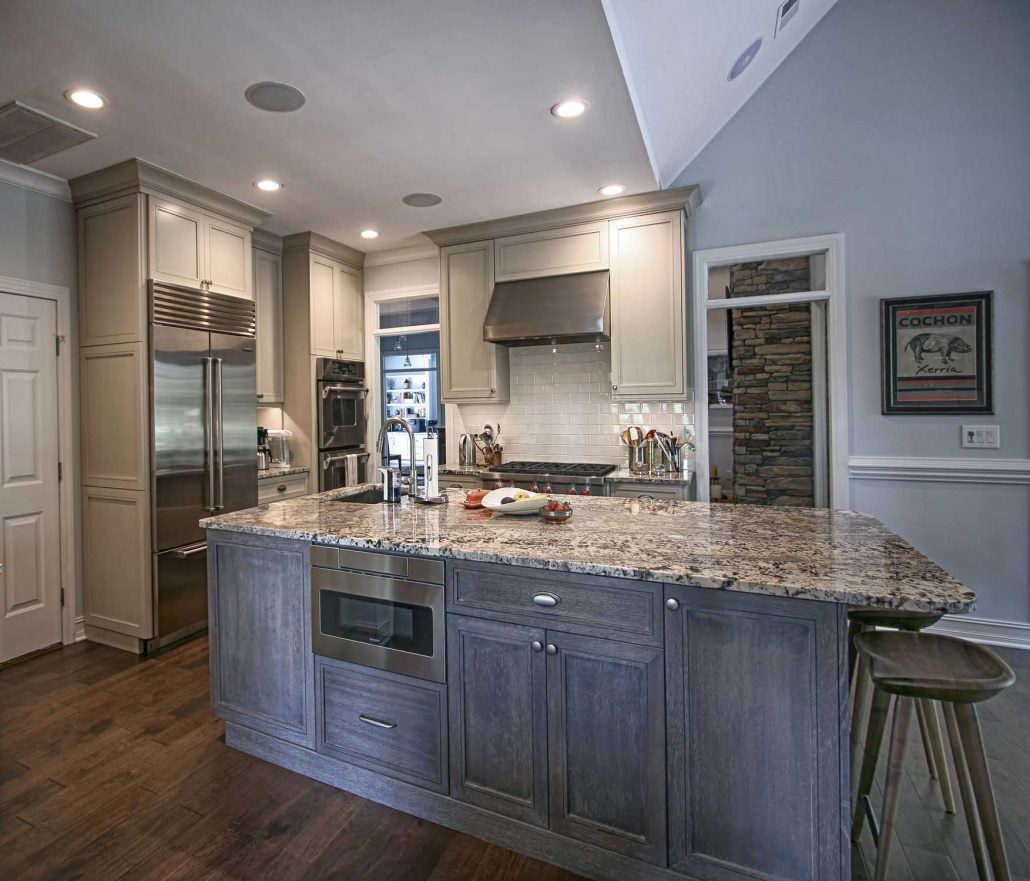
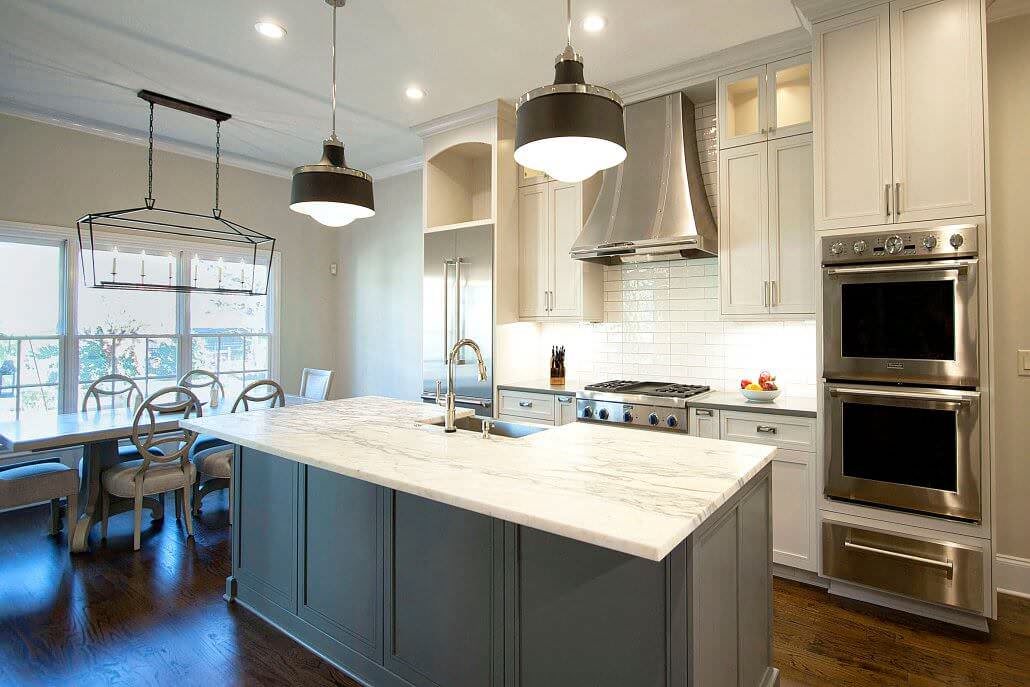
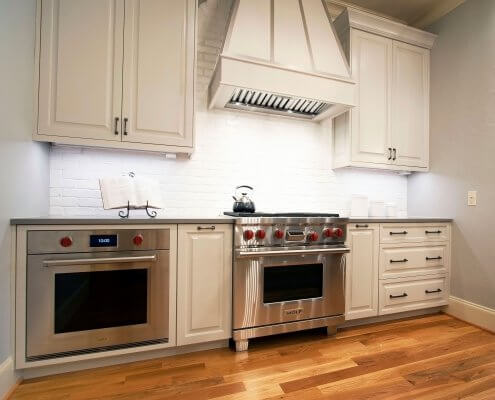
Tile backsplash
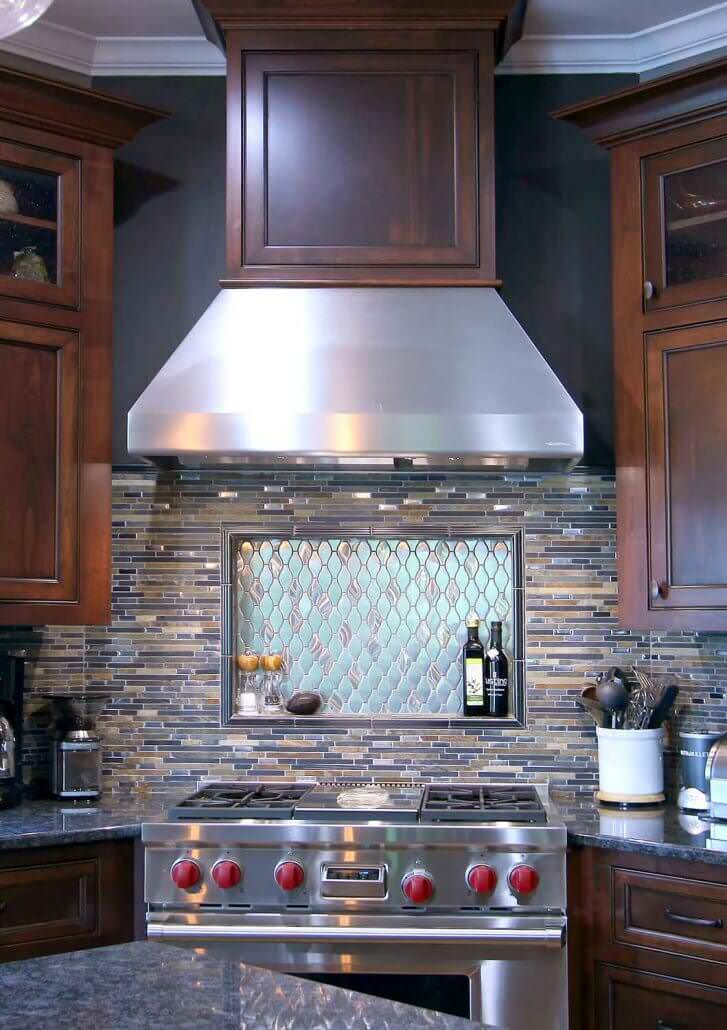
Photo by Walker Woodworking Staff – All Rights Reserved
If you have a tendency to procrastinate, you’re in luck. Your tile backsplash can be decided on and installed after you’ve lived in your kitchen for awhile. In fact, mine wasn’t installed until after 6 weeks of using our kitchen. We had narrowed our selections down to three options and my husband requested to wait on deciding until he could “see it all come together”. Once it was all together we went with my original selection from months earlier…..happy wife, happy life, right?
Artwork
All of the photos and prints you took down to avoid being damaged can now be put back into space. Since the walls have likely been freshly painted you can get creative with the way you rehang your photos. Mixing frame sizes and finishes is gaining popularity. Now that you’re living in the renovated space you will most likely want to buy some new artwork to bring the space together. Don’t be afraid to play with scale and color when making art purchases. If you live with something for awhile and don’t love it then you can always switch it out. That is what makes decorating with artwork so fun.
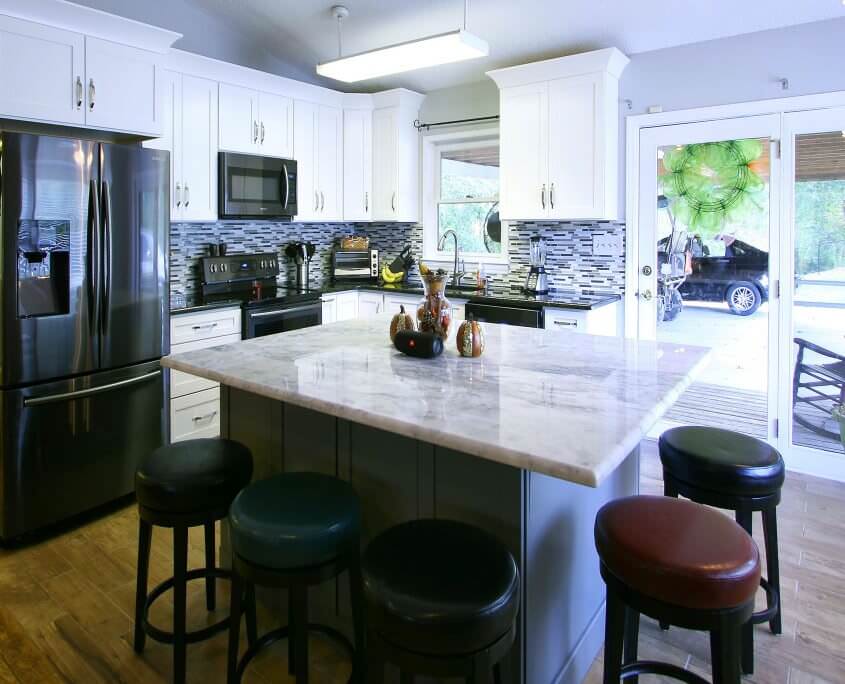
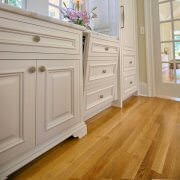
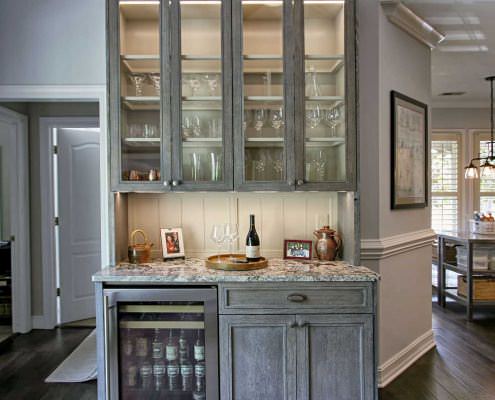
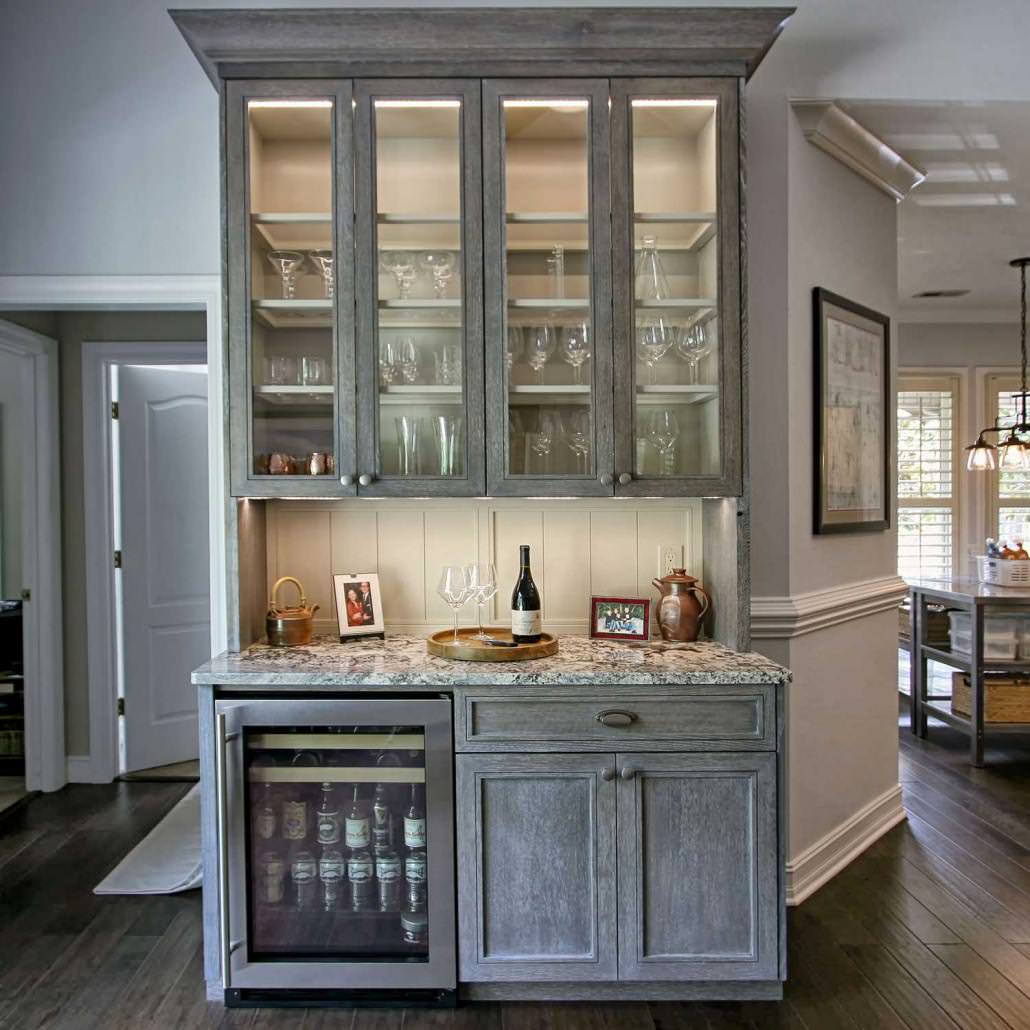
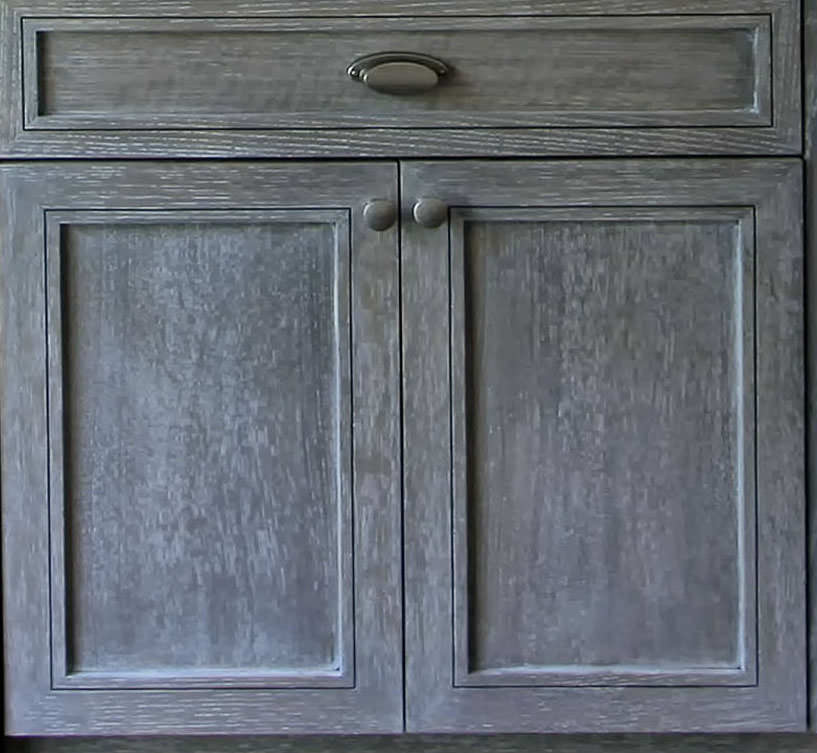
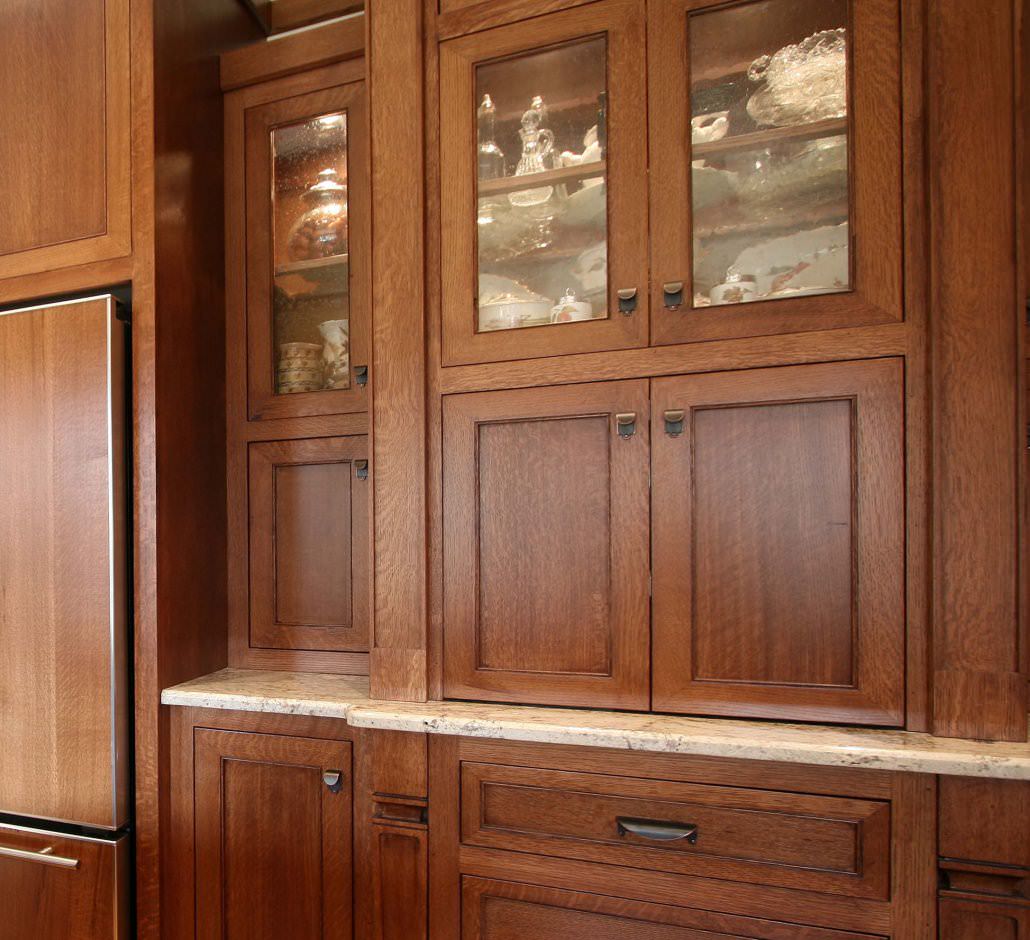
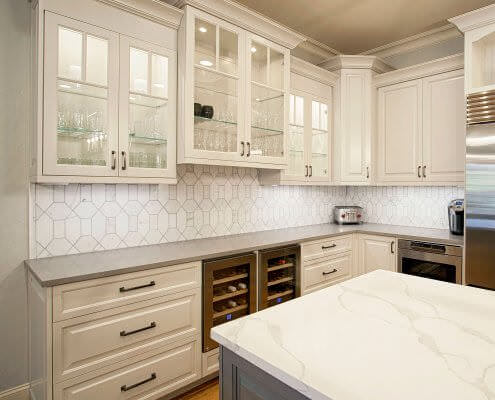
Finding a place for everything
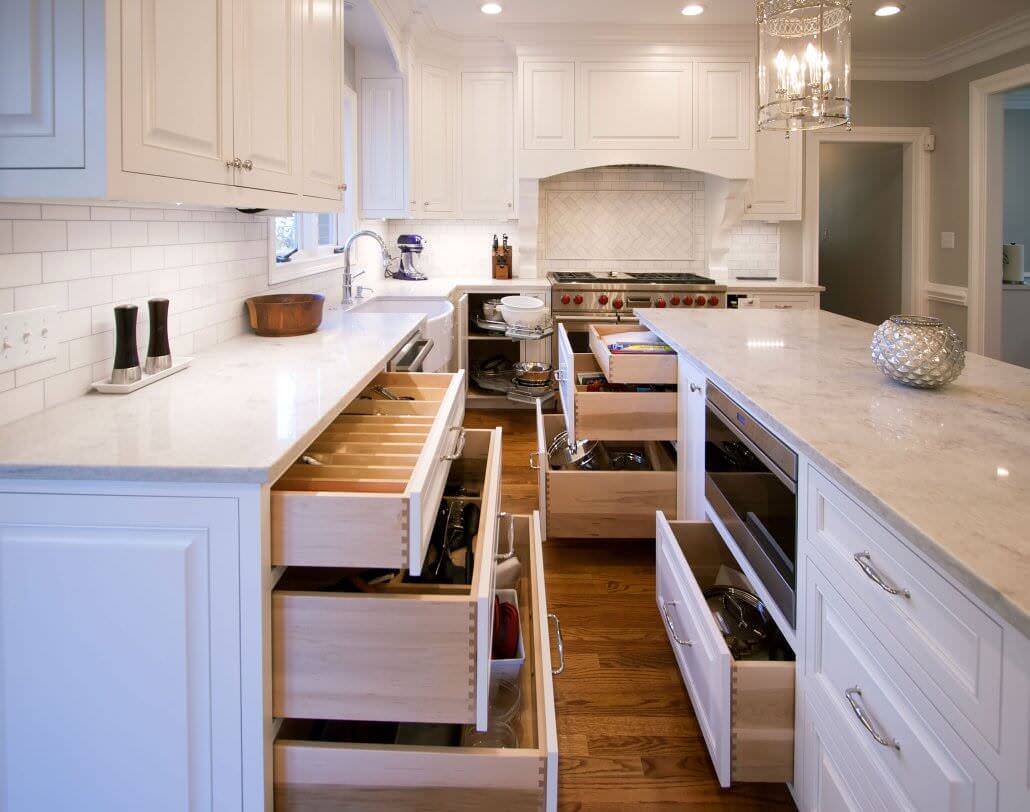
Great storage with drawers.
Restocking your new cabinets is an exciting time. Think through where you want to put things based on how you utilize the space. You probably planned this out with your kitchen designer in advance, but now you can put your plan to work. I’m talking about all the utensil dividers, spice pullouts, mixer lifts, custom corner storage, etc. At Walker Woodworking they pride themselves on making use of every square inch available. My favorite part of my new kitchen was using my silverware drawer. We had not previously had one close to the sink in our old 80’s kitchen, so we’d been using a silverware tray set in an upper cabinet. I now have a huge silverware drawer with a custom divider and knife block inside, courtesy of Walker Woodworking.
Grocery shopping
Now for the fun part. If you’re like me you may be thinking “How on Earth will I fill all of these cabinets?” Believe me, you will be able to. When I had gone shopping prior to our renovation I had to buy only necessities for the next meal; due to having very little extra pantry storage in our kitchen. We now have a snack drawer, bread drawer, sippy cup drawer, a full tall pantry cabinet, places for stock pots, crock pots, storage for my broom/swiffer, and even a recycling nook. I love being able to shop knowing that I have space for all the food to fit in my kitchen.
Cook and enjoy
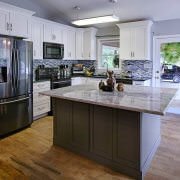
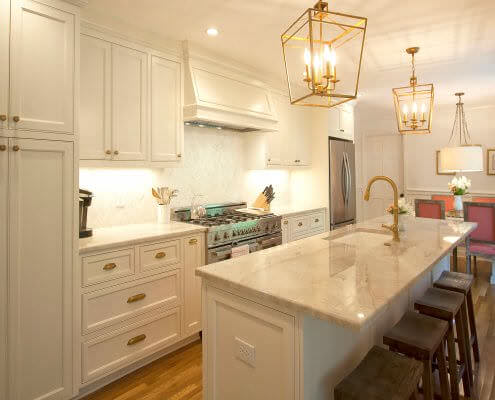
You can now use all of your wonderful appliances and the gorgeous new deep sink you put in. Once in your new kitchen, you can branch out and try some new exciting recipes. Hopefully, you will be inspired to move beyond the microwave for cooking and learn some new techniques. The only bad news is that using your kitchen means it will get dirty again. Have fun in your new space……cook, clean, rinse, and repeat.
Article by guest blogger Jeneane Beaver, former Designer at Walker Woodworking.
“Having worked with Walker Woodworking for 7 years, I have the opportunity to share my experiences as a designer as well as a client, I remodeled my own kitchen in 2012.” ~ Jeneane Beaver
Ready to start your next project? Call Walker Woodworking today and get the process started. 704-434-0823
If you have recently completed a renovation and you want to share your perspective, please comment below.
Check out the other parts of our remodeling series.
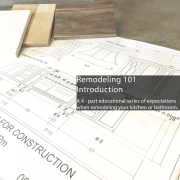
Intro to this remodeling series? Click this link to see it now.
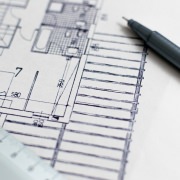
Part 1 Budgeting and Planning Remodel Budget Analysis? Click here to see it now.
Part 2 Making your selections. Click link to view post.
Part 3 Under Construction. Click link to view post.
 Remodeling 101 Part 1 Budgeting & Planning
 What is a “Budget Analysis”?