Posts

Remodeling 101 Part 4 Finishing Touches

Part 4: The Finishing Touches

Construction crews have left your home now and it is time to put your space back together with the last details.

Cleaning up

Now that everything is in its place and the dust has literally settled, it’s time to clean up.  As was mentioned in our article on Part 3; if you used a contractor some cleanup may be included in their estimate.  This is probably basic and may not include wiping down all of the surfaces.  Your new cabinets will be dusty inside and out.  First from being assembled in the shop, then from installation, and finally from the countertops and appliances being put in.  Hopefully, the dust barriers you put in place helped some, but you should still plan a large chunk of time to devote to the task of straightening up.

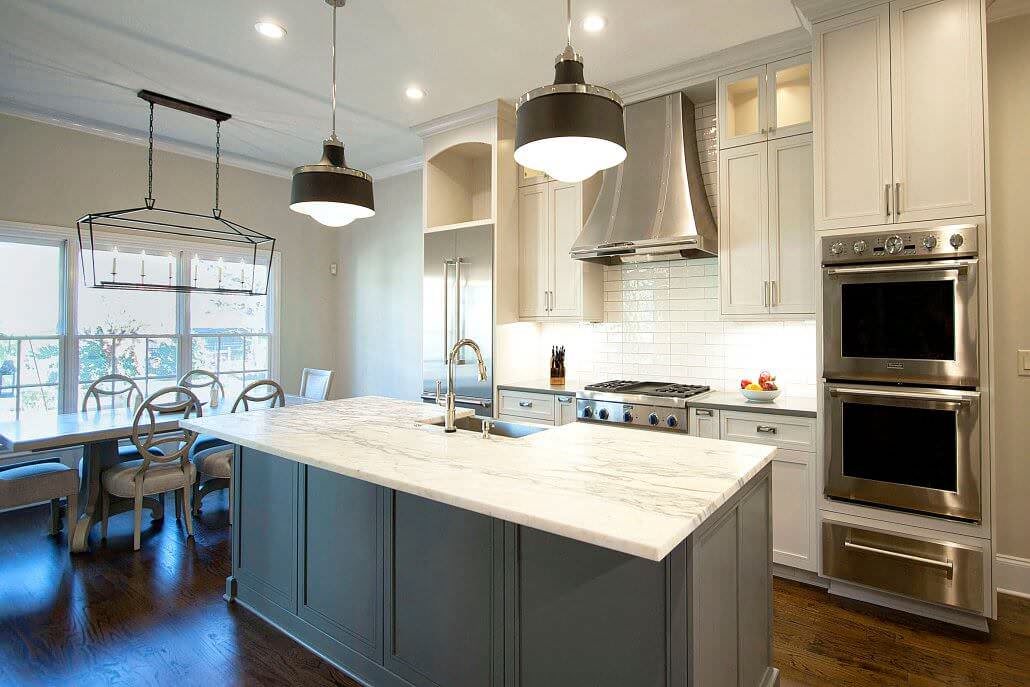
Tile backsplash  
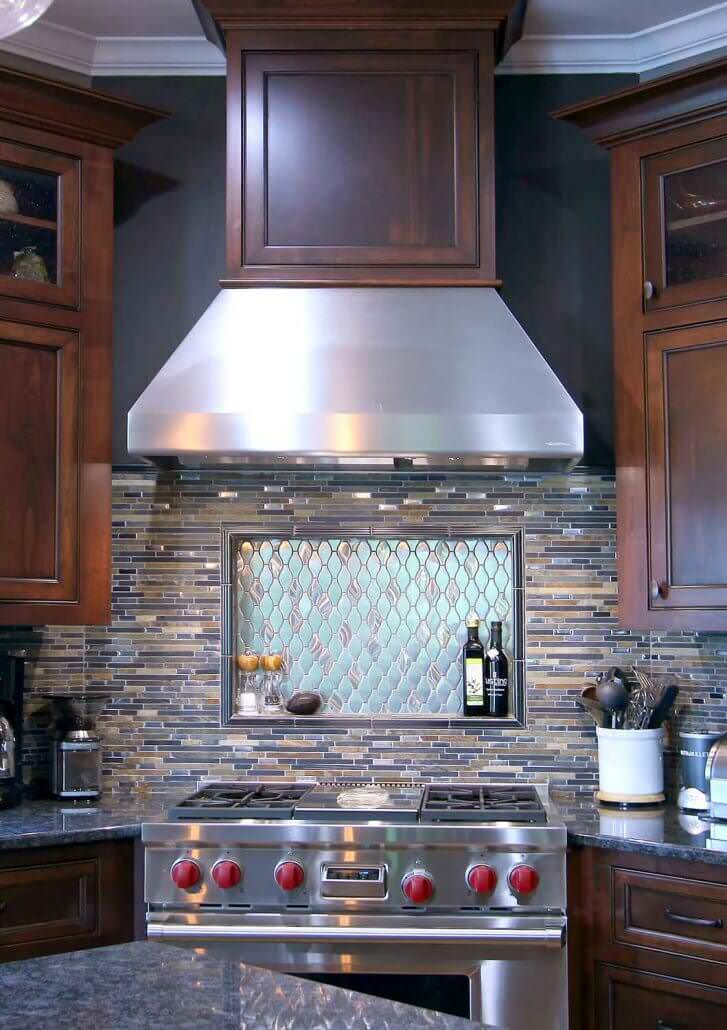
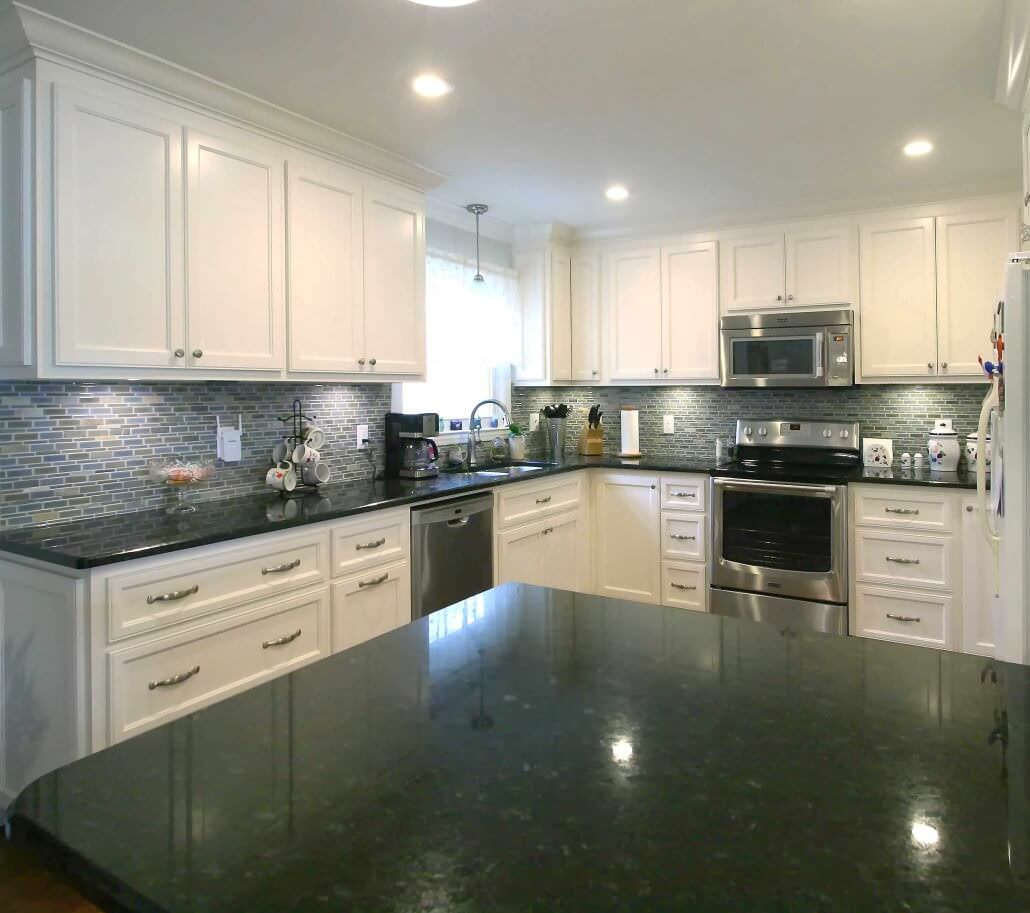
Photo by Walker Woodworking Staff – All Rights Reserved

If you have a tendency to procrastinate, you’re in luck.  Your tile backsplash can be decided on and installed after you’ve lived in your kitchen for awhile.  In fact, mine wasn’t installed until after 6 weeks of using our kitchen.  We had narrowed our selections down to three options and my husband requested to wait on deciding until he could “see it all come together”.  Once it was all together we went with my original selection from months earlier…..happy wife, happy life, right?

Artwork

All of the photos and prints you took down to avoid being damaged can now be put back into space.  Since the walls have likely been freshly painted you can get creative with the way you rehang your photos.  Mixing frame sizes and finishes is gaining popularity.  Now that you’re living in the renovated space you will most likely want to buy some new artwork to bring the space together.  Don’t be afraid to play with scale and color when making art purchases.  If you live with something for awhile and don’t love it then you can always switch it out.  That is what makes decorating with artwork so fun.

Finding a place for everything
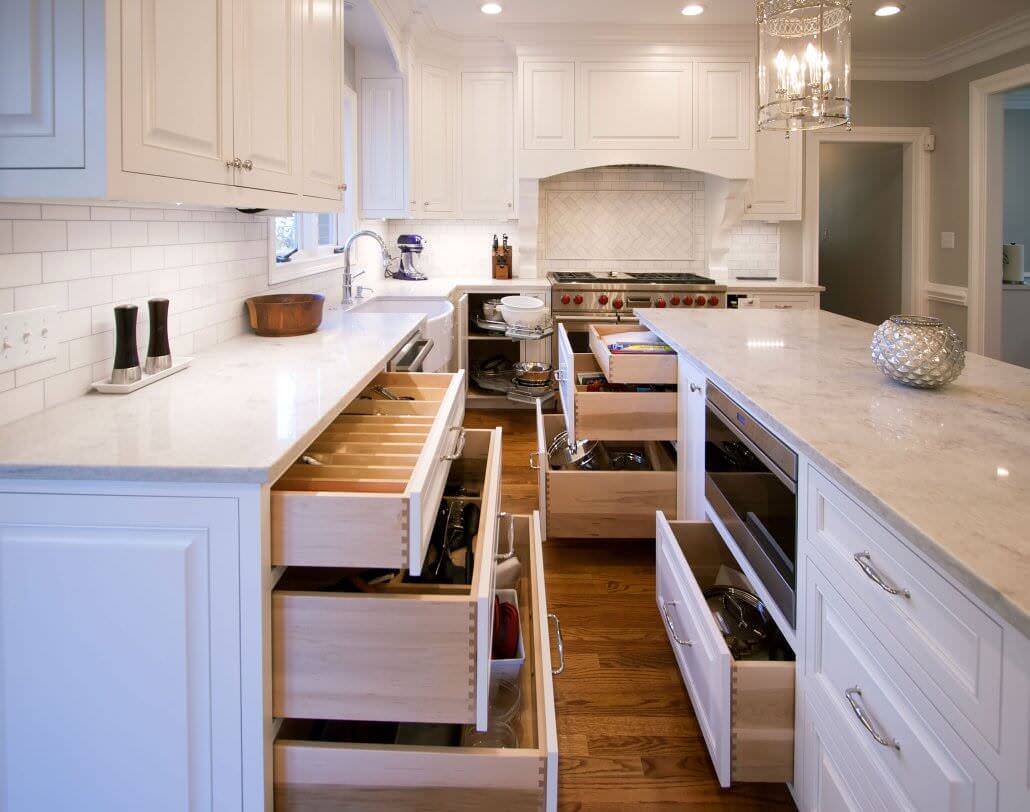
Great storage with drawers.

Restocking your new cabinets is an exciting time.  Think through where you want to put things based on how you utilize the space.  You probably planned this out with your kitchen designer in advance, but now you can put your plan to work. I’m talking about all the utensil dividers, spice pullouts, mixer lifts, custom corner storage, etc.  At Walker Woodworking they pride themselves on making use of every square inch available.  My favorite part of my new kitchen was using my silverware drawer.  We had not previously had one close to the sink in our old 80’s kitchen, so we’d been using a silverware tray set in an upper cabinet.  I now have a huge silverware drawer with a custom divider and knife block inside, courtesy of Walker Woodworking.

Grocery shopping

Now for the fun part.  If you’re like me you may be thinking “How on Earth will I fill all of these cabinets?”  Believe me, you will be able to. When I had gone shopping prior to our renovation I had to buy only necessities for the next meal; due to having very little extra pantry storage in our kitchen.  We now have a snack drawer, bread drawer, sippy cup drawer, a full tall pantry cabinet, places for stock pots, crock pots, storage for my broom/swiffer, and even a recycling nook.  I love being able to shop knowing that I have space for all the food to fit in my kitchen.

Cook and enjoy

You can now use all of your wonderful appliances and the gorgeous new deep sink you put in.  Once in your new kitchen, you can branch out and try some new exciting recipes.  Hopefully, you will be inspired to move beyond the microwave for cooking and learn some new techniques.  The only bad news is that using your kitchen means it will get dirty again.  Have fun in your new space……cook, clean, rinse, and repeat.

Article by guest blogger Jeneane Beaver, former Designer at Walker Woodworking.

“Having worked with Walker Woodworking for 7 years, I have the opportunity to share my experiences as a designer as well as a client, I remodeled my own kitchen in 2012.”  ~ Jeneane Beaver

Ready to start your next project? Call Walker Woodworking today and get the process started. 704-434-0823

If you have recently completed a renovation and you want to share your perspective, please comment below.

Check out the other parts of our remodeling series.

Intro to this remodeling series? Click this link to see it now.

Part 1 Budgeting and Planning Remodel Budget Analysis? Click here to see it now.

Part 2 Making your selections. Click link to view post.

Part 3 Under Construction. Click link to view post.

Remodeling 101 Part 3 Construction

Part 3: Living in a Construction Zone

under sonstruction

It’s here, it’s finally here!!! The day you’ve been dreaming of has arrived……construction begins! Then it hits you…..construction chaos has arrived! I now realize, I need more time!

It can be stressful to have your home torn apart and even more daunting to think of living in your home the entire time during the renovation.  But you can do it.  If you’ve read and followed our previous blog posts in our remodeling series, Part 1 and Part 2, then you should be well prepared for the demolition and construction phase.  The pre-planning done during those stages of your project should make this most arduous phase as brief as possible, getting you smoothly to Part 4 – Finishing Touches –  and ultimately to the reward of tasting the first delicious meal in your new kitchen.  

Before the construction crew arrives  

  • Clean out the cabinets and haul off old appliances.  This is a good time to purge.  You probably have more than you need in terms of kitchen gadgets, and cookbooks that have been replaced by e-versions.  Use this time to clear out the clutter.  Bonus: if you give them to charity you can keep the receipt for a tax write-off.  
  • Set up a makeshift “kitchenette” somewhere that is easily accessible.  During my own personal experience, my husband and I used a mini fridge, toaster oven, and microwave to survive our construction phase.  Coffee is essential for me as well, so I also set up a coffee station in our bathroom.  Keep your take out menus in a convenient spot; they will come in handy to help you survive life without a kitchen.
  • Find a place to store excess food until the job is completed.  We turned a spare closet into a temporary pantry while our home was being disassembled.
  • Setup dust barriers if possible, or have this quoted from your contractor.  This will depend on your layout and the scope of the project, but if possible you can hang sheets at the construction entrances to minimize dust and debris extending beyond the work zone.
  • Breathe – you’re prepared, enjoy the process as much as you can   🙂

Demolition Day  

The contracting crew will disassemble walls, cabinets, floors, etc.  Whatever is required to create a “clean slate” for your new design to become reality.  It will be exciting to see the old cabinets leave the space.  Seeing the new open area can help you envision how the new plan will come together.  Once our space was emptied I used my plans to draw out the footprint of the kitchen.  I really became excited, to see the reality of my vision finally appearing before my eyes.

The work continues

Depending on the scope of your project the work may take a few weeks to complete.  However, things will generally happen in this order:

  • Plumbing and electrical rough in changes will be made.  New pathways will be made for outlets to be accessed and for a new sink placement if needed.  
  • Framing and drywall will be completed.  This is where the dust barriers will come in handy.  The process is messy.  I’d recommend painting the new walls once they are ready; that way the walls will be completed prior to new floors going in.
  • Floors are installed.  Whether wood or tile, the flooring installation can last a few days. They will be beautiful in the new open space.
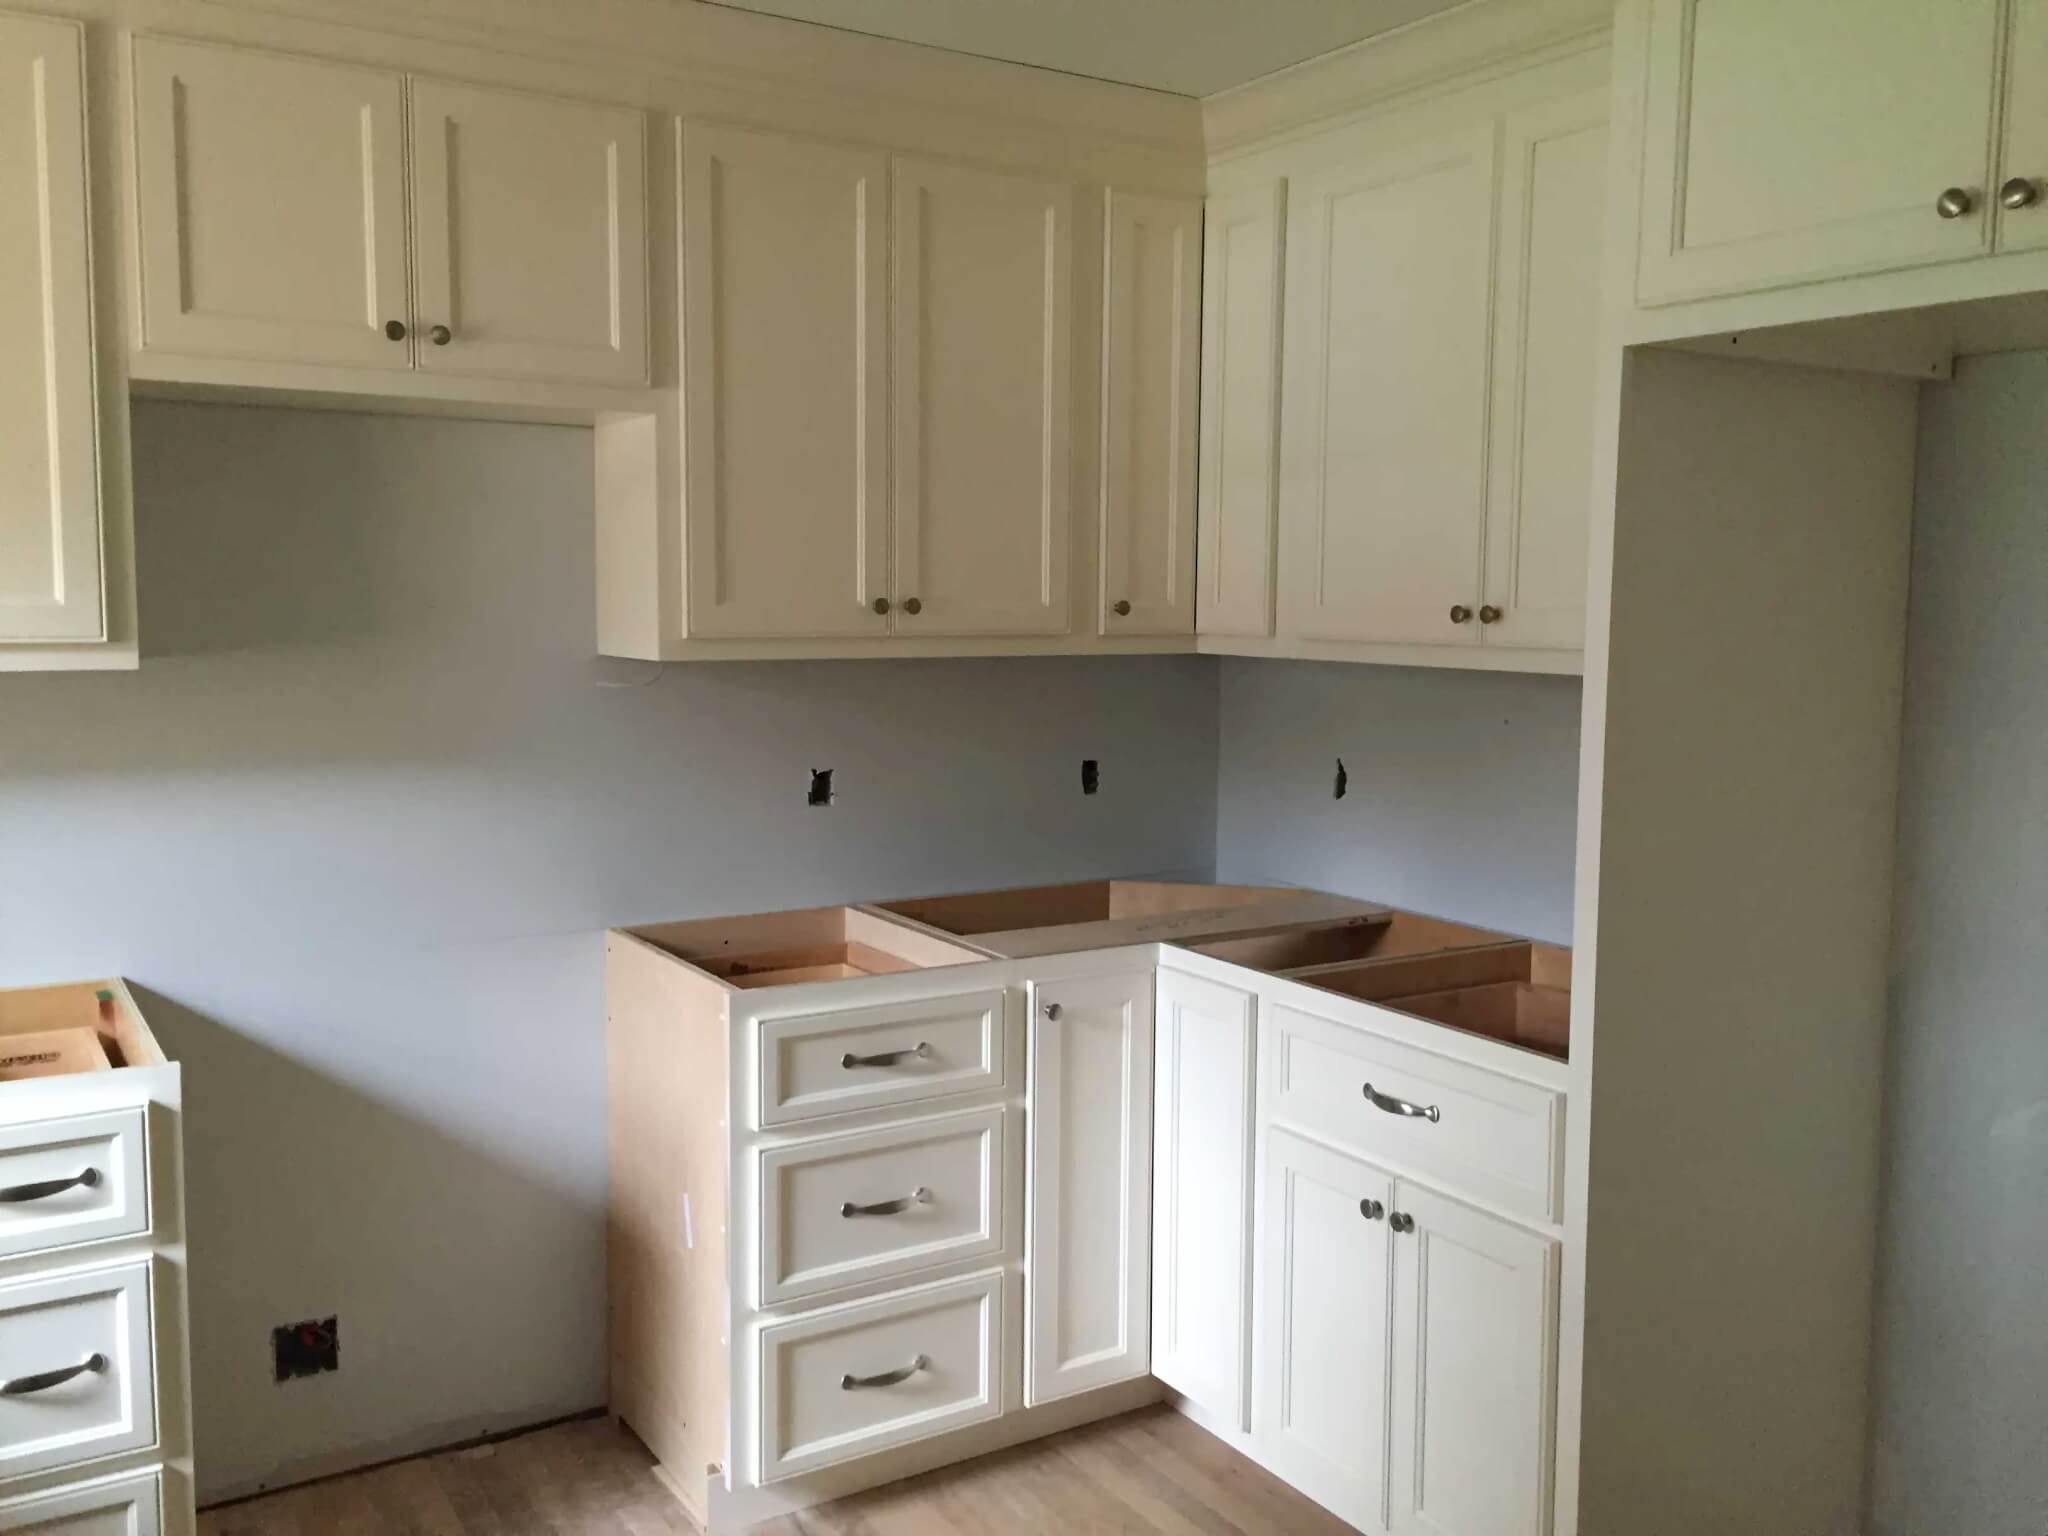
  • Cabinets will be installed next.  I believe this is the most exciting part of the construction process, because these custom components are the backbone of the new work-space.  The day they arrive will be better than Christmas.  The beautiful finishes, hardware, spacious drawers, and custom pullouts are finally arriving in your home! Yay! The installation will last a few days, then a counter-top template can be finalized.  
  • Counter-tops are next to go in.  The gorgeous tops you’ve selected will be the icing on the cake.  If you need any of these to be cut on site, the dust barriers will need to be in place for this as well.  You are almost to the finish line!
  • Last electrical and plumbing can now be completed.  Appliances can be installed, and you can now have a working sink, as well as a better place for your coffee machine (no longer in the bathroom).

Cabinets Arrive! Work Continues.

Prepare for hiccups:  I know what you’re thinking. “That doesn’t sound too bad,” and you’re right. The idea of living in a construction zone doesn’t sound too bad here.  If only a project could be finished in the time it takes to read this article, but alas, it cannot.  Any home project takes time, and a major remodel is definitely a lengthy process.  Be flexible and expect at least one delay to come up; they are inevitable.  Be courteous to the people working in your home, if you are respectful to them, they will be more inclined to treat you and your home with respect. Be sure to report anyone that comes into your home that is not courteous. Small business owners appreciate knowing of any problems as soon as they arise.

Working Toward a Completed Project

Take some before, during, and after pictures to share with friends and family. It is exciting to see the progression.

Last tip: Don’t bother trying to clean up until the job is truly complete, because you’ll be dissatisfied and will be doing it more than once. If a General Contractor is looking after your project, he may have clean-up included as part of your estimate.

Once construction is done it will be time to put your kitchen back together and get ready for Part 4 –  The Finishing Touches (coming soon to complete our renovation series).

Article by guest blogger: Jeneane Beaver, Former Designer at Walker Woodworking

“Having worked with Walker Woodworking for 7 years, I have the opportunity to share my experiences as a designer as well as a client, I remodeled my own kitchen in 2012.”  ~ Jeneane Beaver

If you are only in the dreaming stage of beginning your project, we’d love to talk to you and work with you to fine tune your very own remodel plan.  If you’re ready to be further from dreaming and closer to construction, call Walker Woodworking today 704.434.0823.

Please feel free to add a comment about your own personal experience with remodeling.

Did you miss the intro to this remodeling series? Click this link to see it now.

Did you miss Part 1 Budgeting and Planning Remodel Budget Analysis? Click here to see it now. 

In case you missed it – Part 2 Making your selections. Click link to view post.
Sam & Kim Kitchen Remodel

Sam & Kim’s Kitchen Remodel

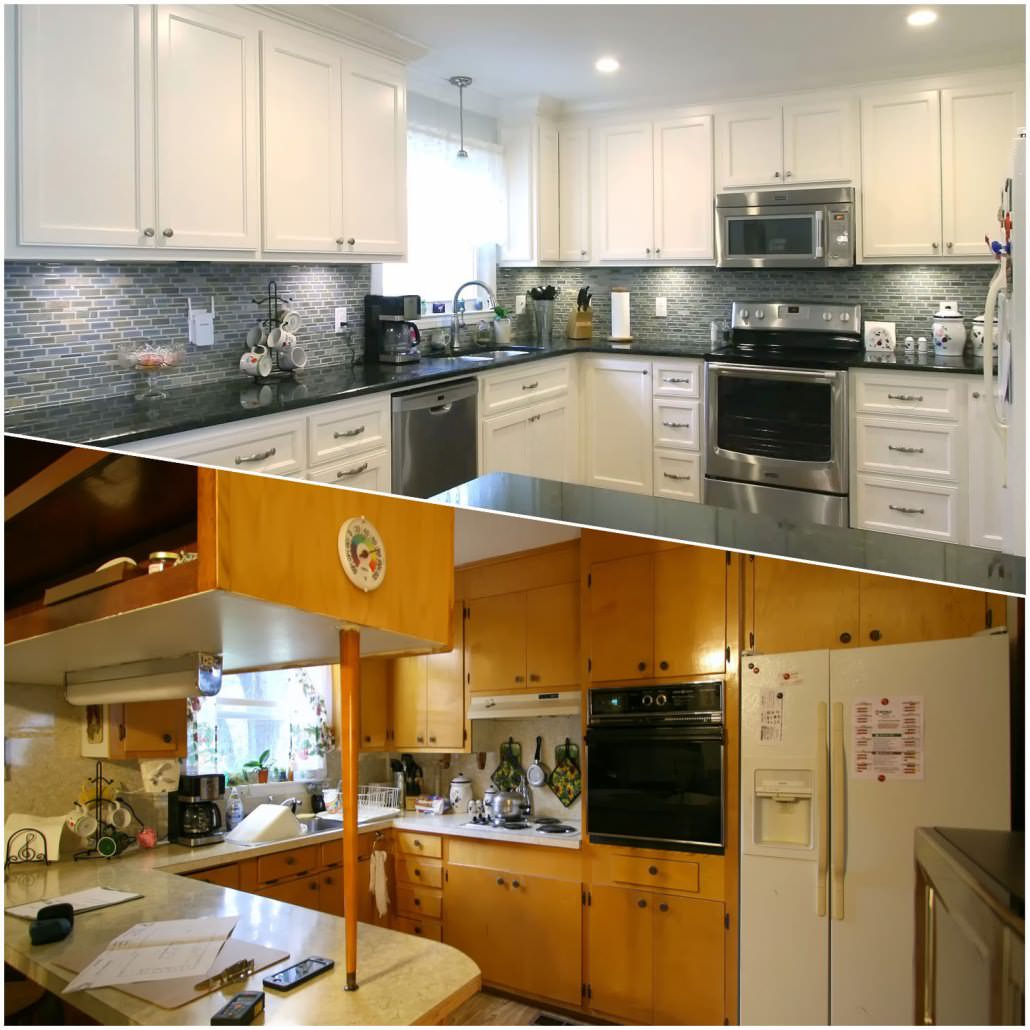
In 2015, Sam and Kim decided to move back to Sam’s former home and update their kitchen. Enlisting the help of Walker Woodworking and Tony Brooks of Beam Edwards & Brooks, this kitchen remodel became an amazing transformation from an enclosed kitchen to an open floor plan. Follow this link to see the complete before & after photo gallery.

before-after-side-by-side

Walker Woodworking Before & After

Returning Home

Sam’s family moved into this house in 1962 as its first owners. Over the years the home was remodeled several times. Multiple additions included adding a master bedroom, enclosing the carport to build a playroom, and adding a sunroom. Sam along with his brother Al and his sister Andrea grew up there. Many children through the years considered it their home while Sam’s mom ran a daycare until the mid 80’s.

Growing up in the home the formal living room was used only on special occasions or to take family photo. The 7 grandchildren considered this their second home and have fond memories of playing and being loved there.

After Sam’s mother’s death, his father continued to live in the house and host weekly Sunday Dinner for the family. After his dad’s death the house was vacant except for grandchildren sometimes living there.

Planning & Design:

In working with Tony Brooks, a plan was formed to open up the formal living room and convert to an open floor plan. The playroom was converted to a den for use during construction.

After a desire for the open floor plan was determined they met at Walker Woodworking with kitchen and bath designer, Brandon Fitzmorris, to complete the kitchen design. Brandon was able to plan out the space for optimized cooking and storage. Since this will be their forever home, they wanted to make the space as functional as possible. One of the design challenges was to achieve seating at the peninsula while still maintaining the feel of an open floor plan. We were able to accomplish this through team work with the general contractor by incorporating a pass through to the living room.

The process:

Demo – Demolition started and cabinets came out. Site prep was done by adding a protective floor covering to prevent damage and a dust barrier to the existing living space.

Kitchen-remodel-before-tearout

Before demo started

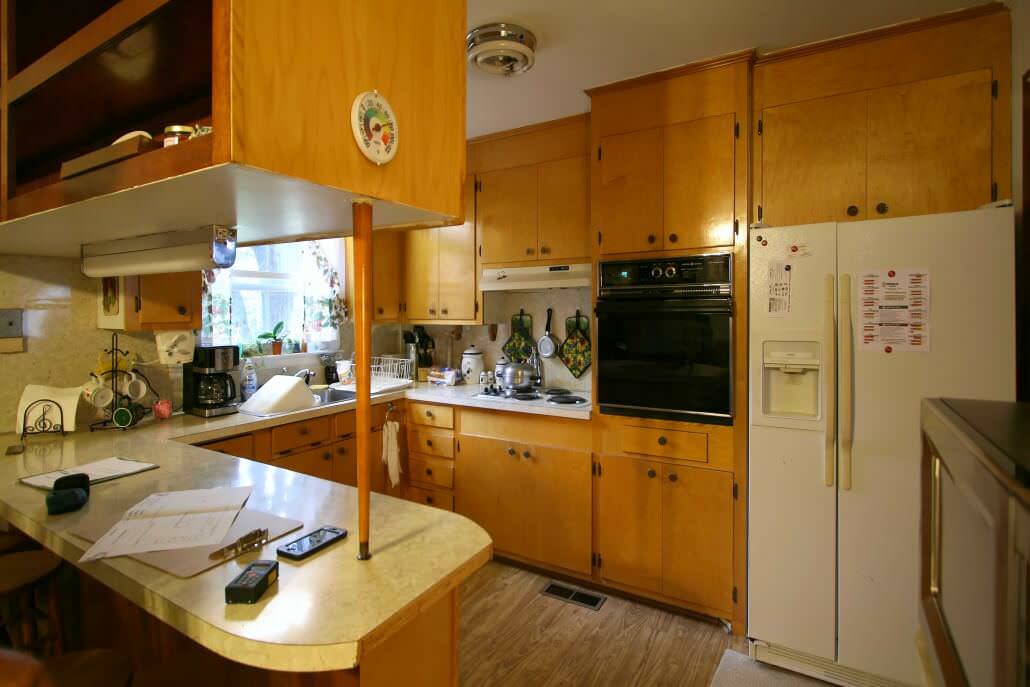
Kitchen-remodel-before-picture

This double door was made into a single pocket door to add wall space for the kitchen area.

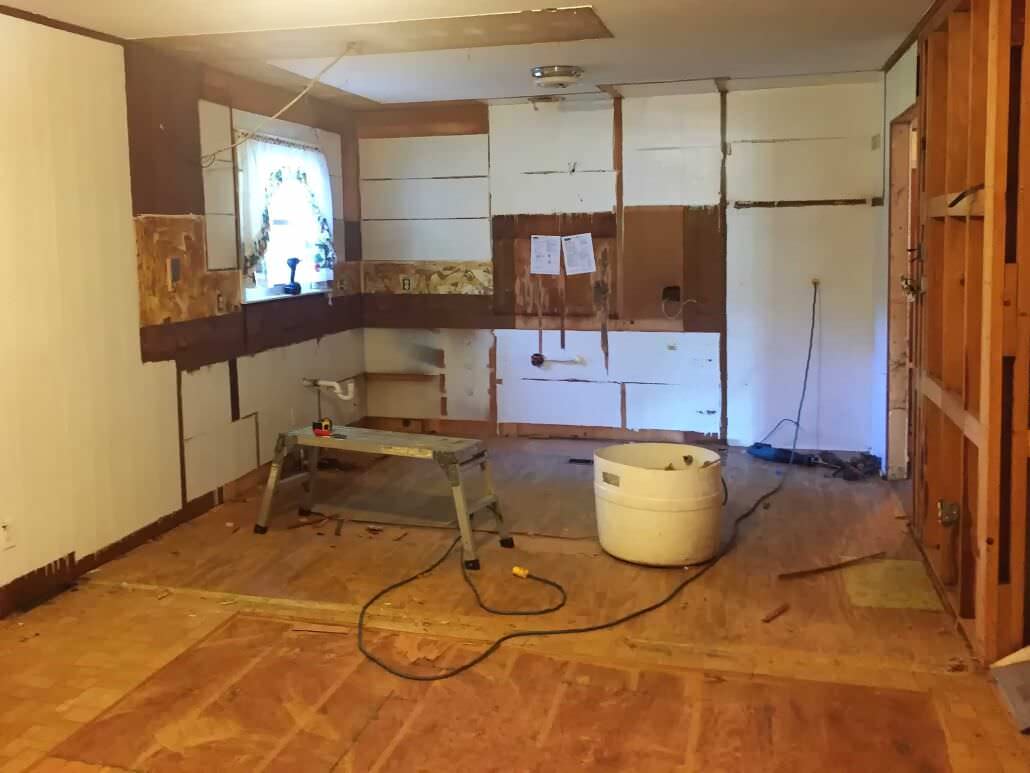
Kitchen-tear-out

Walls that needed new sheet-rock & finish work after cabinets were removed.

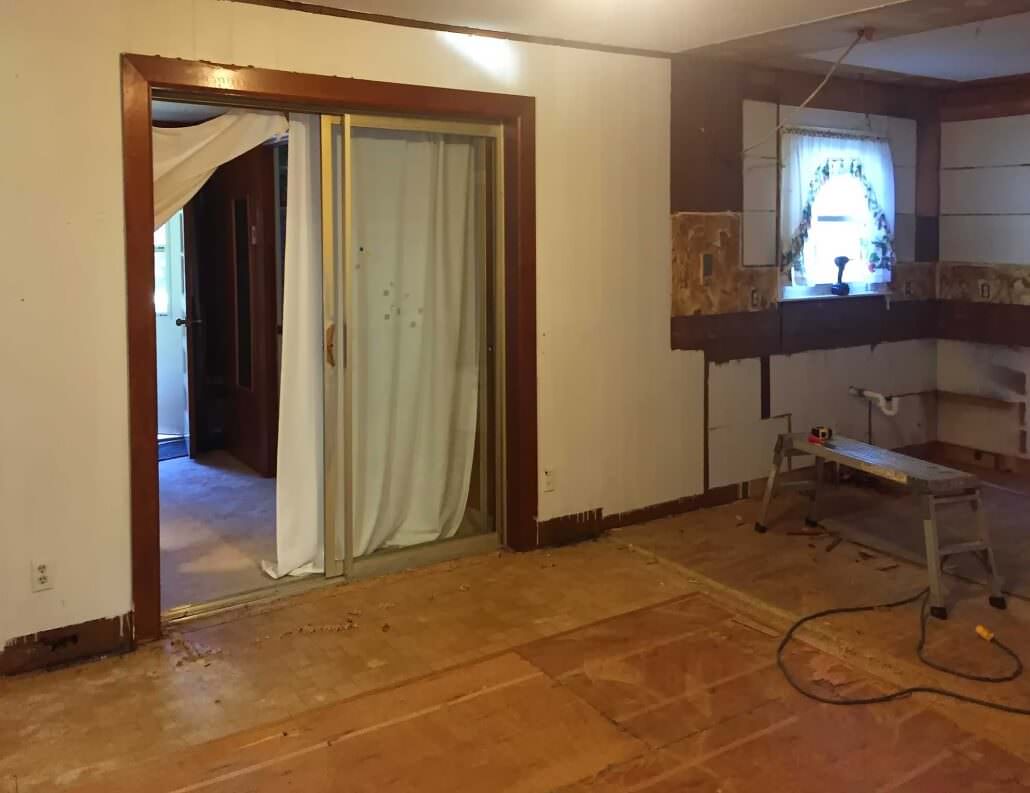
Construction – A wall was removed and carpet from the living room came out. Hardwood was added to the kitchen and den and matched up to the existing hardwood in the living room, a treasure hidden beneath the carpet. The end result was seamless, there is nothing left of the previous wall separating the formal living room from the kitchen.

Kitchen-remodel-during-renovation

Kitchen wall and living room after the wall was removed and the header added.

Plumbing & Electrical – The next part of the process was to update plumbing & electrical. By using our preplanned CAD drawings, the subcontractors were able to quickly and efficiently make the necessary changes to the updated kitchen layout.

Sheetrock & Primary Painting – Sheetrock repair and primary painting is definitely an expectation with an extensive remodel like this one.  The wall that needed to be removed was a load bearing wall. We had to build a header across the room and sheetrock that area.

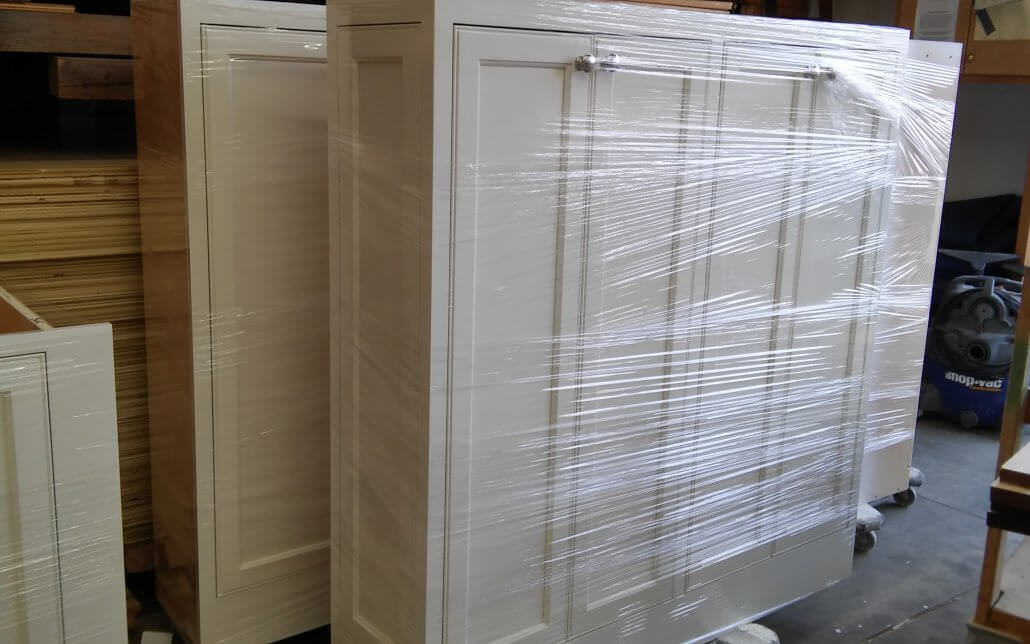
Cabinet Install – Usually a 2 day process for a kitchen similar to this one. Our trucks show up full of cabinets, already assembled including the decorative hardware. One of the things that we do differently than most companies is to apply the toe kicks after the floors are finished. In most cases this eliminates the need for shoe-moulding.  This will give the cabinets more of a finished furniture style.

cabinet-install

Walker Woodworking – Cabinetry Install

Counter-tops – Typically counter-tops are ready for the template after the cabinets are installed. Once the template has been done, it will typically take 1 to 2 weeks before the tops are ready to install. Each fabricator is different. Granite can be installed in a kitchen like this usually in half a day.

Appliances – In most situations appliances will go in after the counter-tops.  Every project is unique and having professionals that realize the importance of when certain things should happen is important for a smooth remodel. This will also help to ensure that cabinets, flooring and counter-tops are not damaged  during the process.

The Finishing Touches – The last few things that need to be done include the tile back splash, final coat of paint, and the final sanding & finishing of the floors.

Kitchen-remodel-white-cabinets

Be sure you see all of the before & after photo’s in our Before & After Photo Gallery.

“Both Tony and the team at Walker Woodworking  held our hand through the process, which at some times was emotional because of the changes being made to the family home. The end result was more than we could have ever dreamed possible.The remodel was completed in time for us to continue family traditions of Thanksgiving & Christmas in the home.” ~ Kim Davis

Kitchen-&-Home-renovation-with-family

The open space was once a wall that extended the entire length of the room.

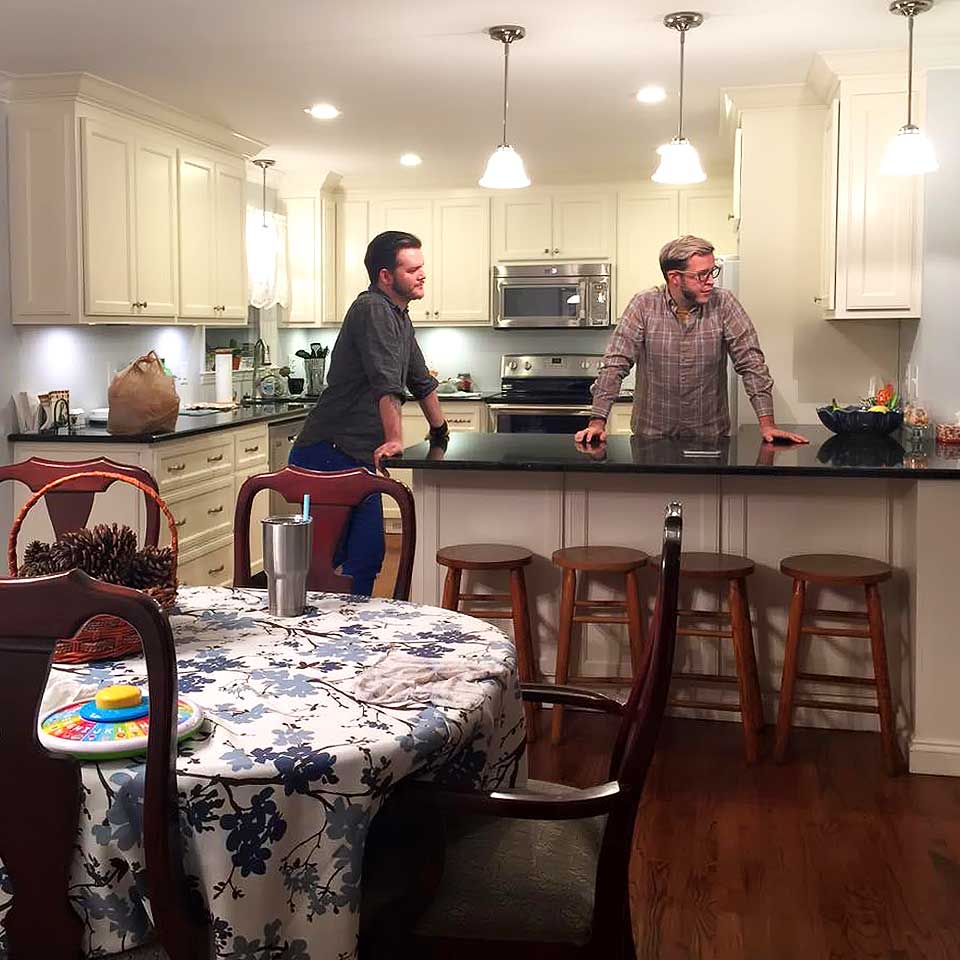
Kitchen-remodel-after-with-family-in-kitchen

These guys can still see whats going on the living room.

Family-by-christmas-tree

This home will be enjoyed for many years & future generations to come.

We would like to thank Sam & Kim for allowing us to share their story. Follow this link to see the complete before & after photo gallery.

A Farm House Renovation Project

A farm house of almost 200 years has been renovated with a new look and new technology; however, the character of the home remains unharmed.

A young couple took on a three-year project to completely renovate an old farmhouse, bringing new life to the aging piece of history.  Walker Woodworking was excited to be a part of their renovation.  The couple focused on handmade American products when selecting details for their home, and the cabinetry was no different.

Although most of the original house remained intact, Jason & Erin Metcalf had dreams of adding a kitchen to their 1840 circa farm house.  The original home did not come equipped with a kitchen.

Throughout the years, different owners had made some upgrades to the home that included adding a small kitchen. The first step of the renovation the Metcalf’s made was to remove the part of the house that had been added on. They then began construction for their own detailed additions while leaving the original part of the home intact.

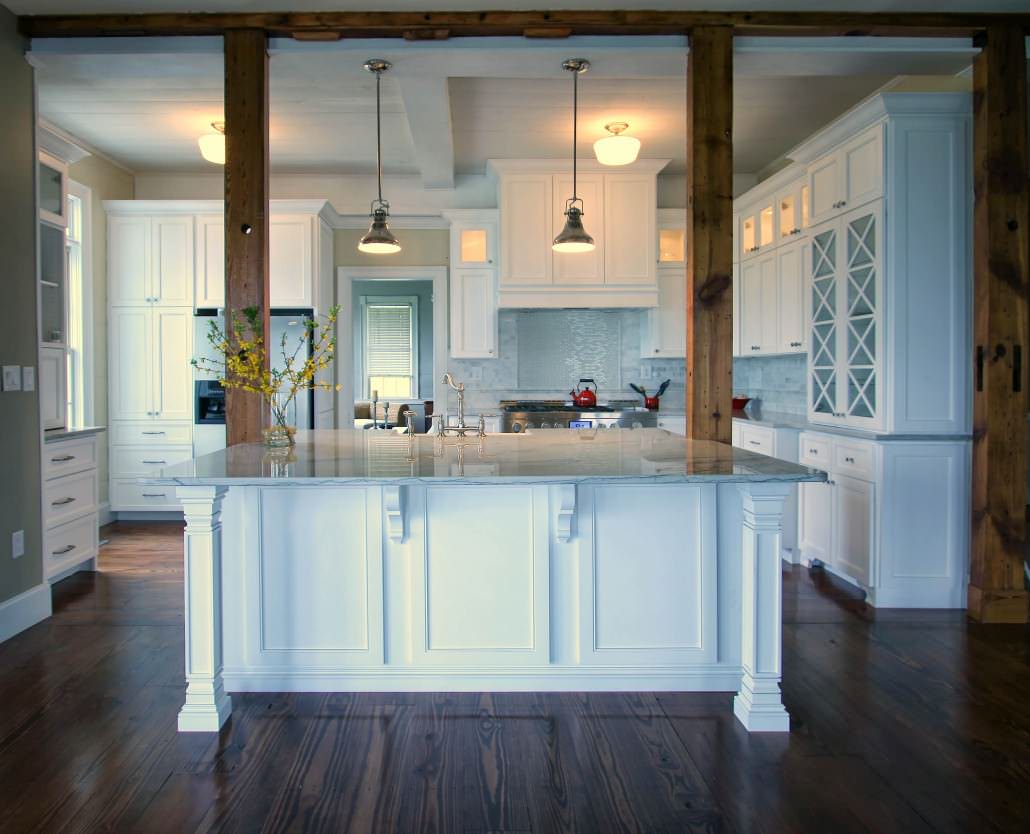
As with any remodel, the design phase can be most difficult due to the fact that you are working  around existing beams and structures that must stay intact. The original structure of the home had no nails or screws but had been constructed using wooden peg joints, the Metcalf’s wanted those beams to be exposed where possible. The kitchen area was greatly affected by the exposed beams since they were load bearing and would be right in the middle of the kitchen.Metcalf beam

The Walker Woodworking team took on the design challenge while working closely with the Metcalf’s to achieve their desire to have a state of the art kitchen that would display beauty, originality and function in their updated farm house. Other challenges existed in the actual construction  and installation of the cabinetry due to uneven walls,  and flooring, The beams located in the kitchen were also out of square which made it difficult to place cabinetry right next to them.

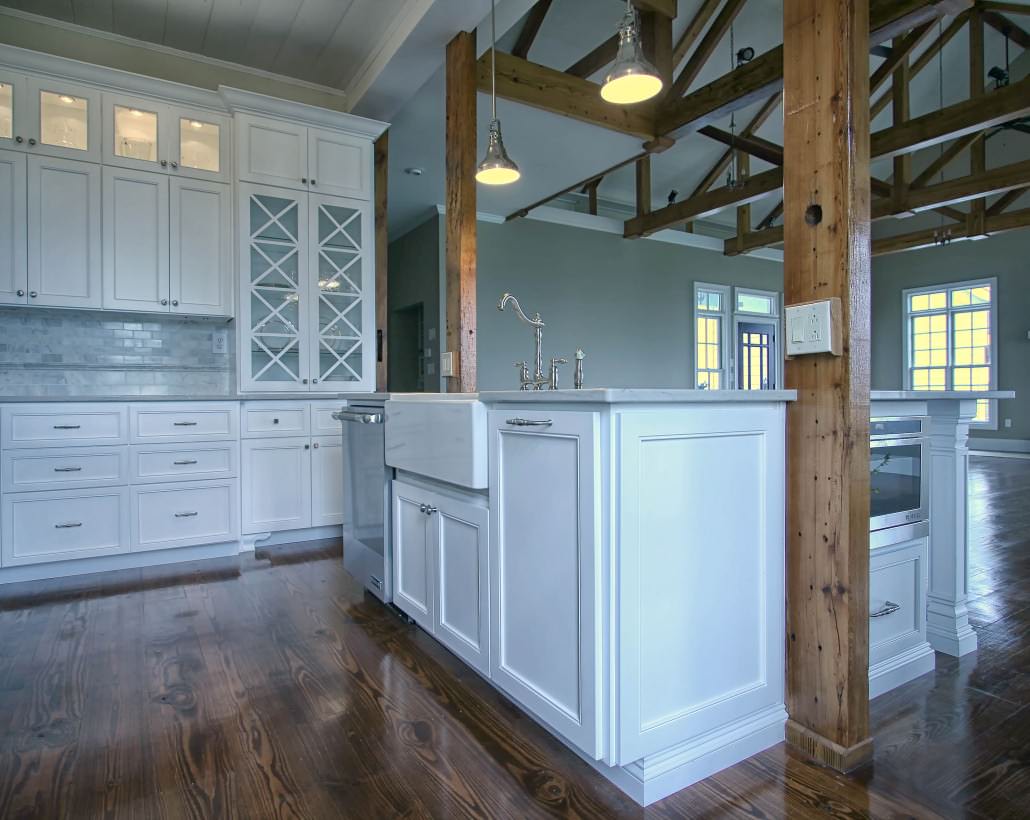
After the architectural portion of the project was completed, the cabinetry, appliances and other finishing touches were integrated into the almost 200 year-old home to achieve a modernized kitchen.IMG_4607

The overall cabinet designs feature a classic white color with streamlined door styles. The blending of clean lines, square posts, and a simple square hood design all add to the clean farmhouse look.  Mullioned antique glass doors to display dishes, and open shelves were a couple of customized features in this kitchen. Other design elements that were added help transition the old with new, including:  Quartzite counter-tops, slate and glass tile, a farm sink, and metallic casting pendant lamps.IMG_4579

Visit the Farm House Portfolio to see more pictures from this project.

For more pictures and information on the overall project you may visit the Metcalf’s personal blog page.

Do you have a kitchen that needs updating or a unique project such as remodeling on old farm house? Let Walker Woodworking help you make that dream a reality! Contact us today, our estimates are always free.

Portfolio Items